
This article shows you how to create swimlanes in Miro.
- Log on to miro.com
- Click "New Board"
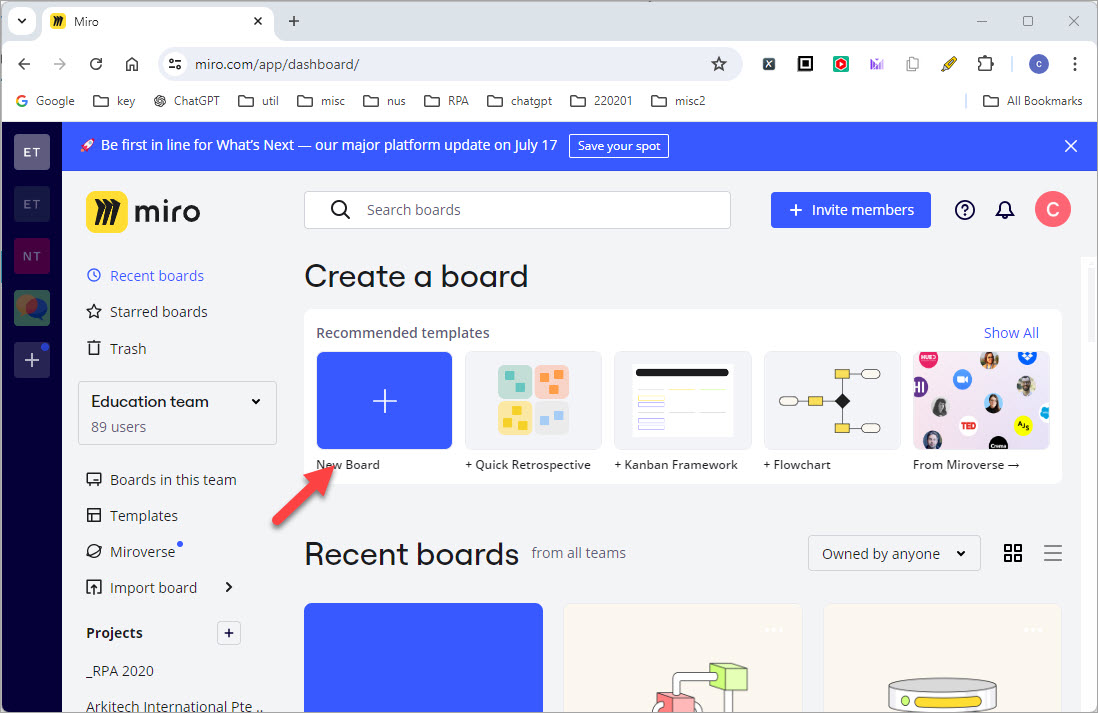
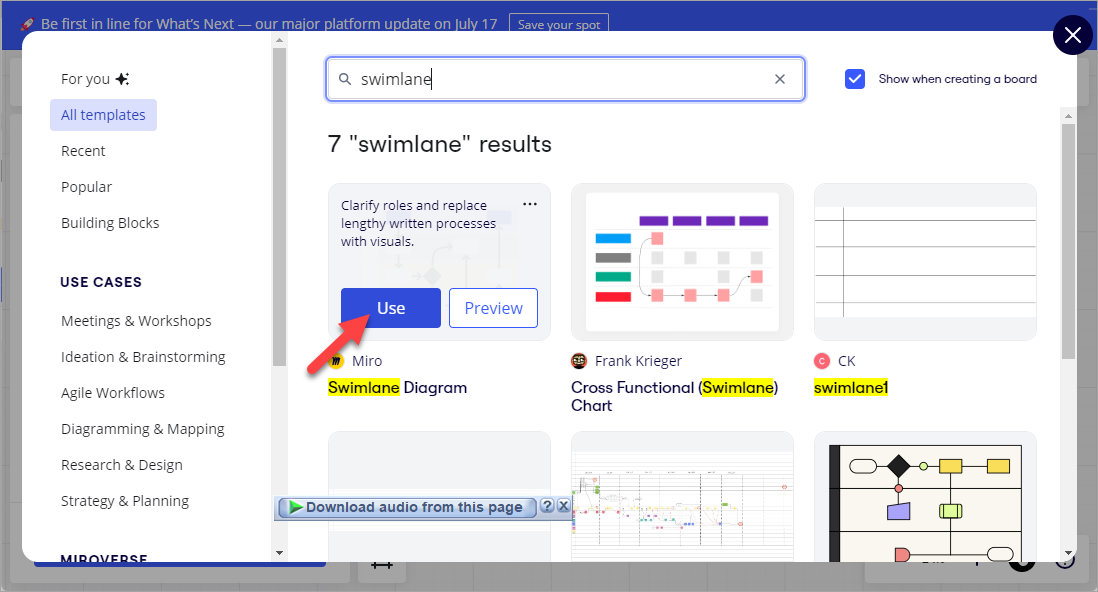
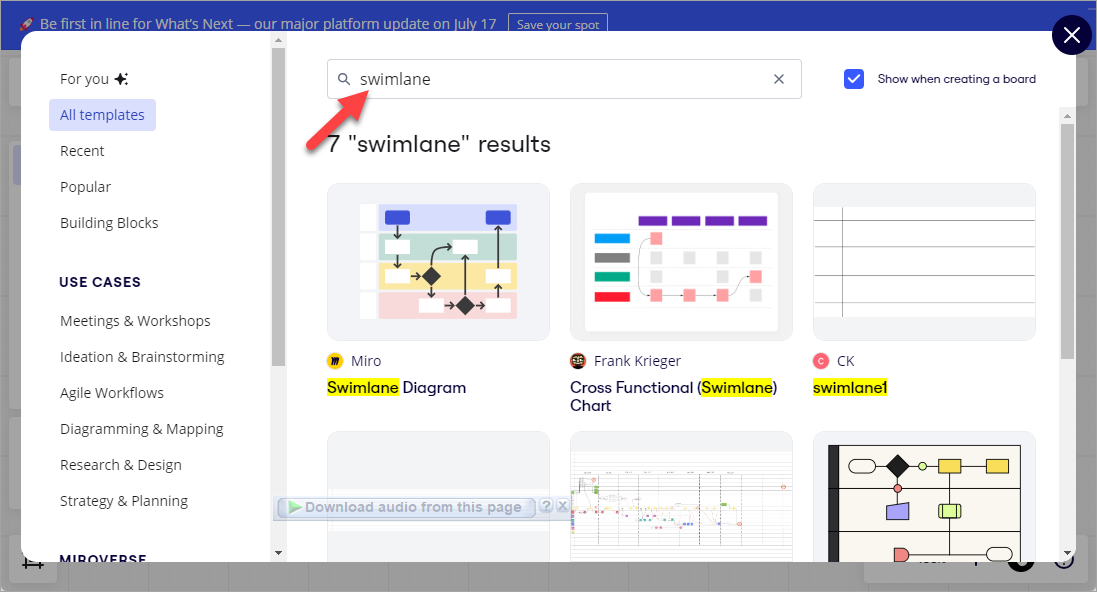
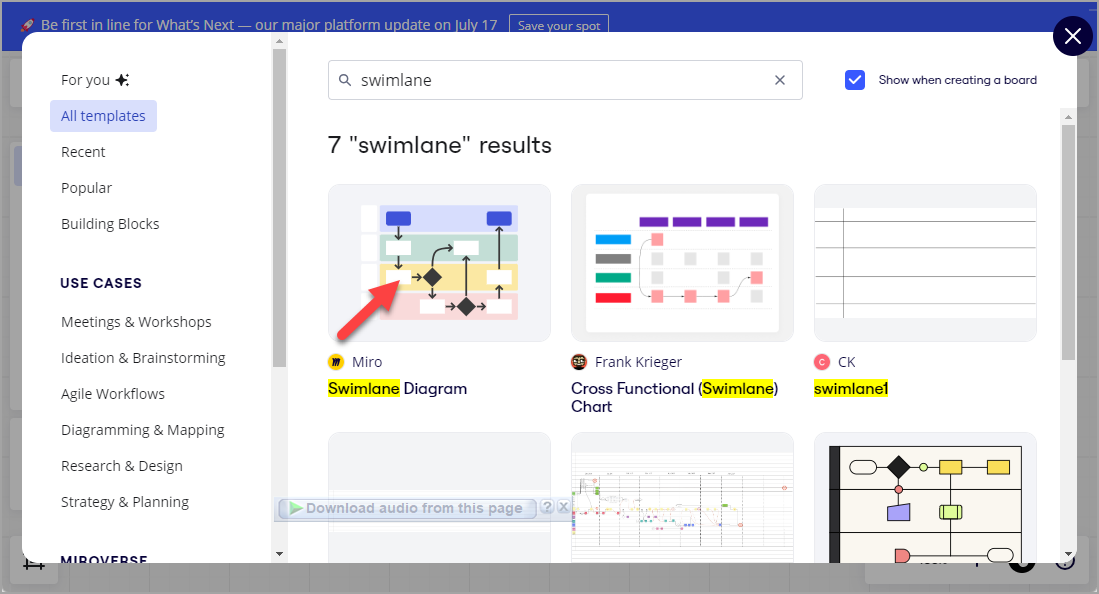
- A new board will be created and it will auto prompt you to select a template. Enter "swimlane"
- Hover over the template "Swimlane Diagram" by Miro
- Click "Use"
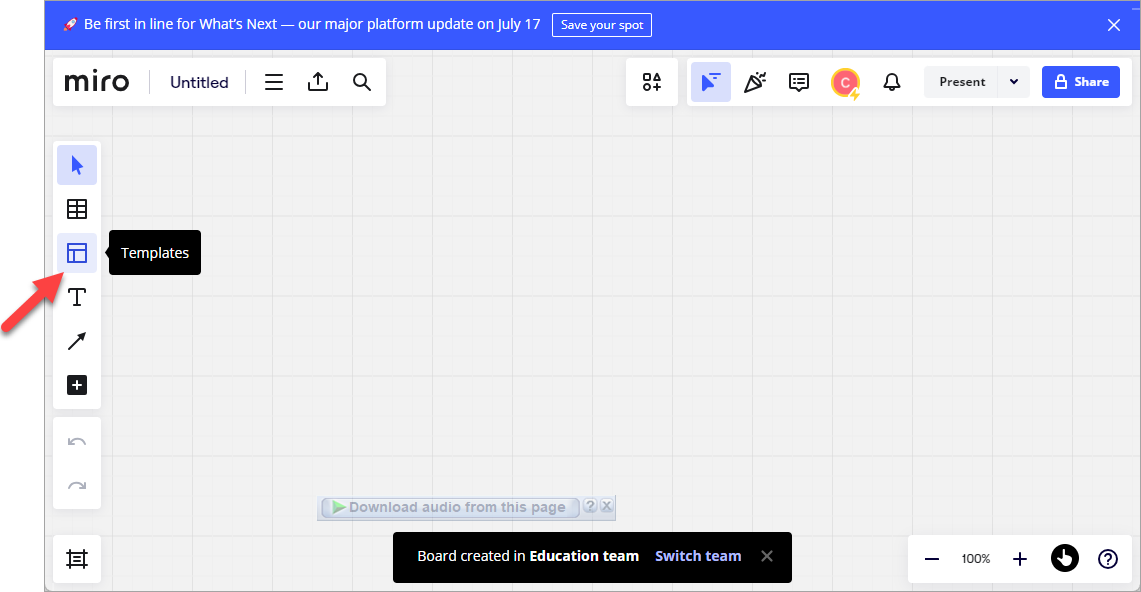
-
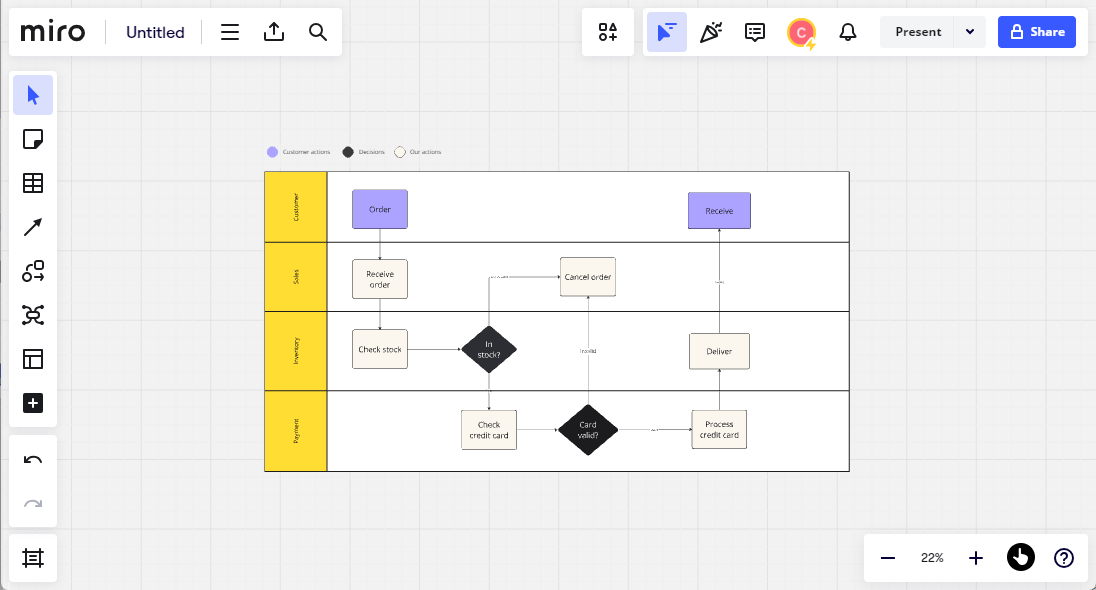
- You should now see this:
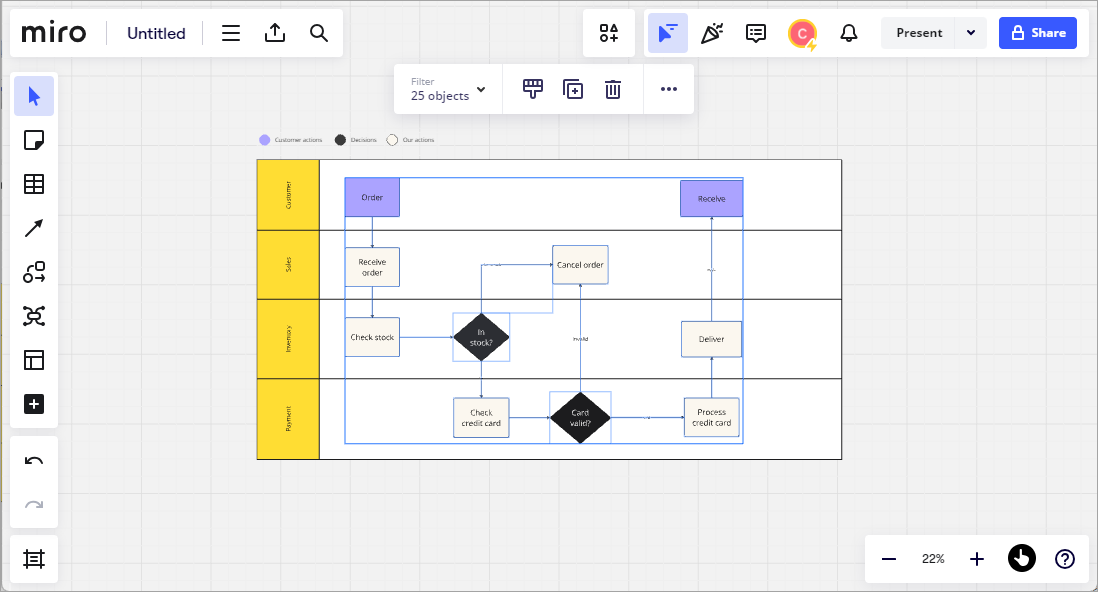
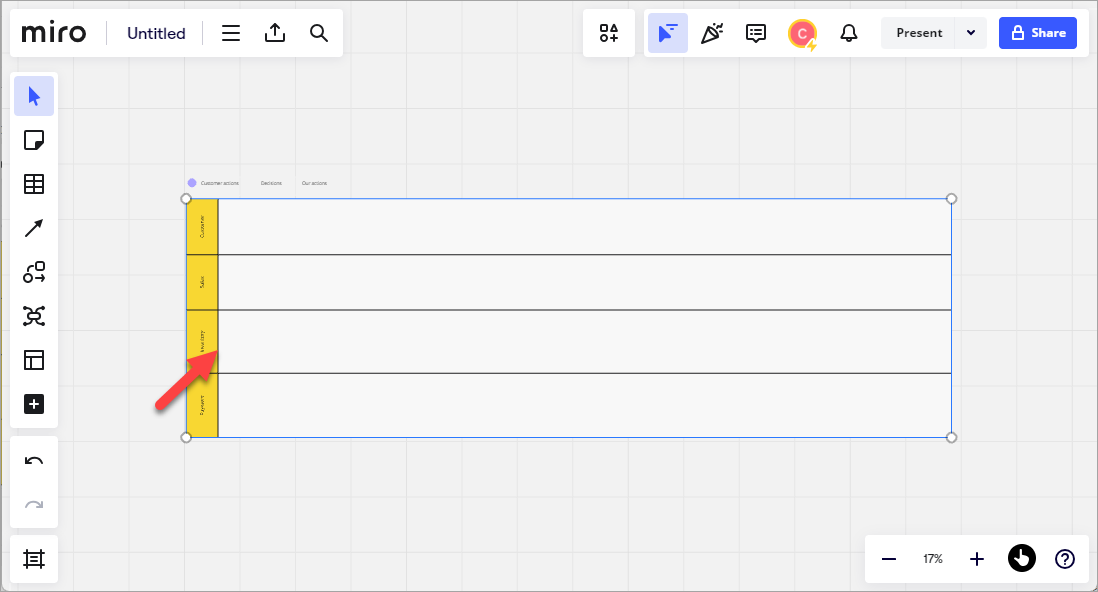
- By default, Miro will pre-populate a sample process map. Highlight all these sample boxes with your mouse, by click then shift and drag. Note that only the boxes should be selected. The swimlanes behind these boxes should not be selected.
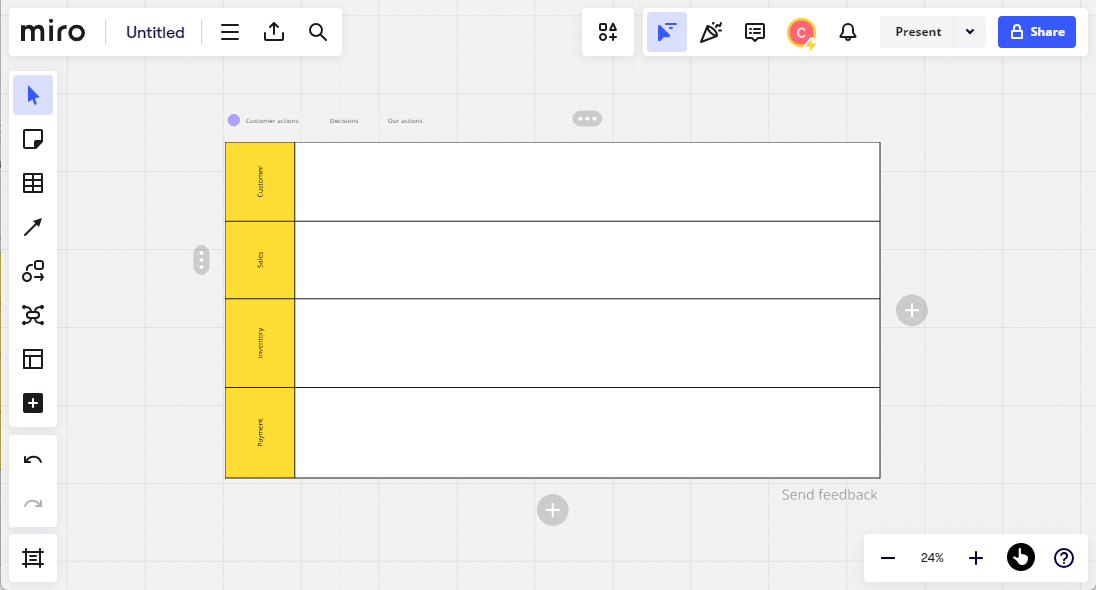
- Once the boxes are selected, press the Delete key. You should now have a clean swimlane as follows:
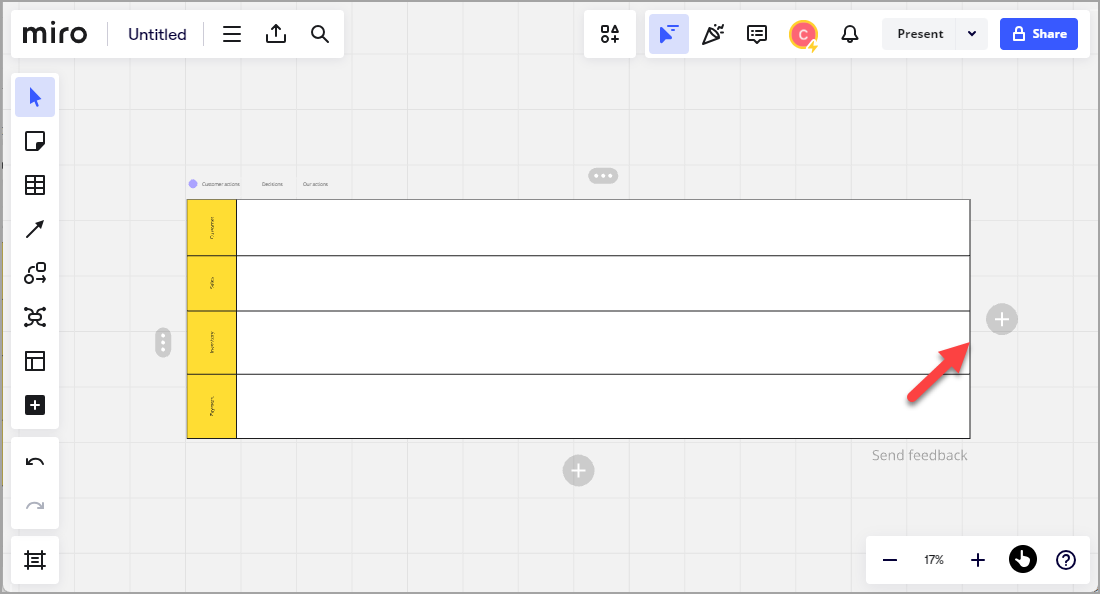
- You can extend the swimlane by hovering over the right margin then drag it to the right.
- You can also adjust the width of the actors column by dragging the right margin of the column:
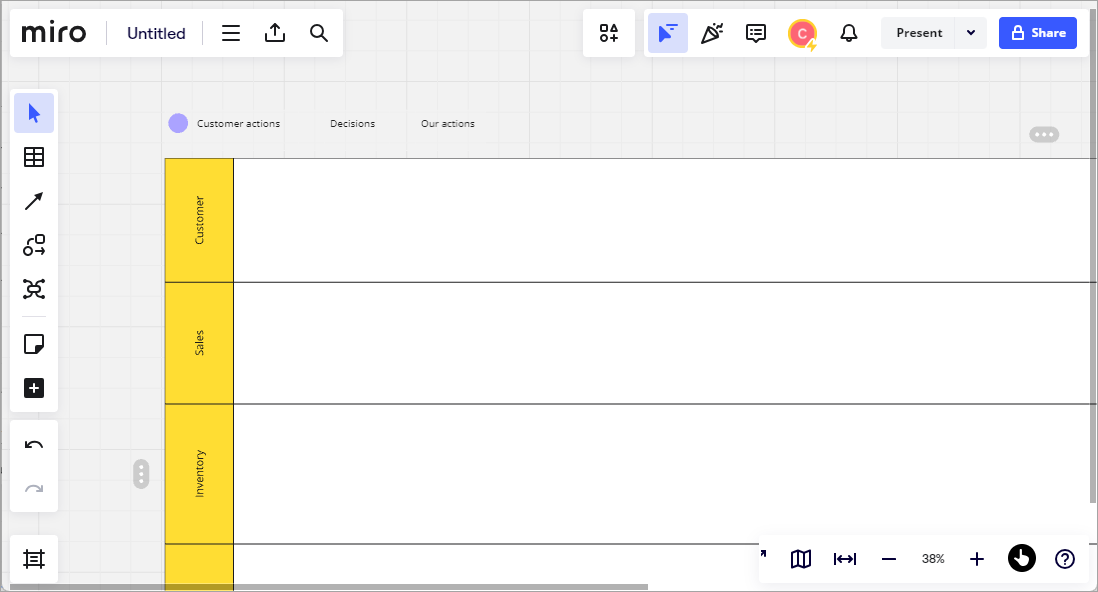
- To start mapping in the boxes, use your scroll mouse to zoom in:
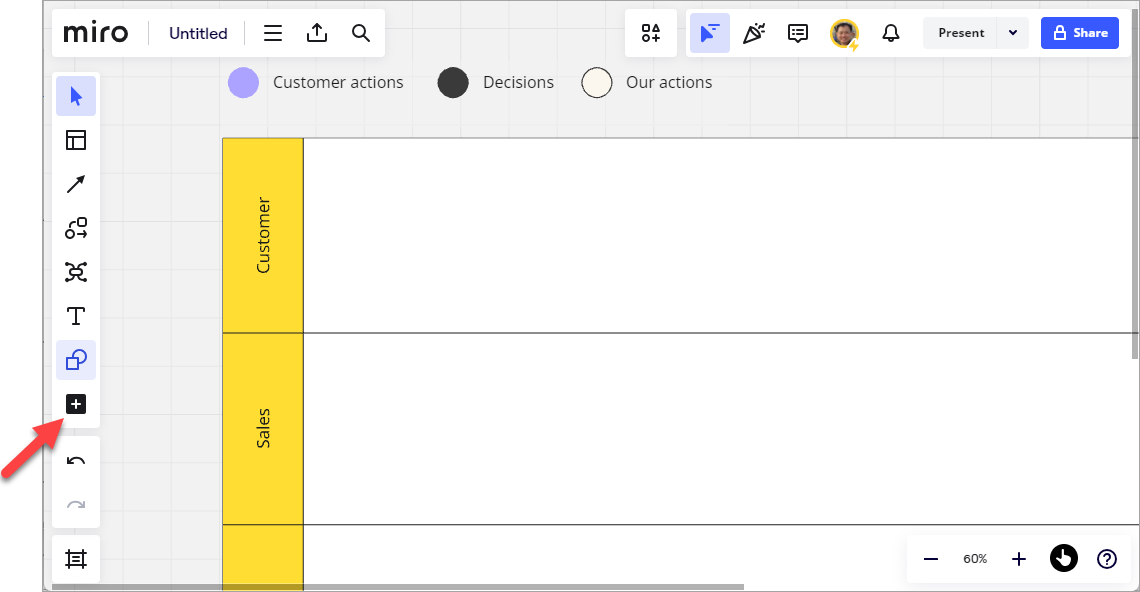
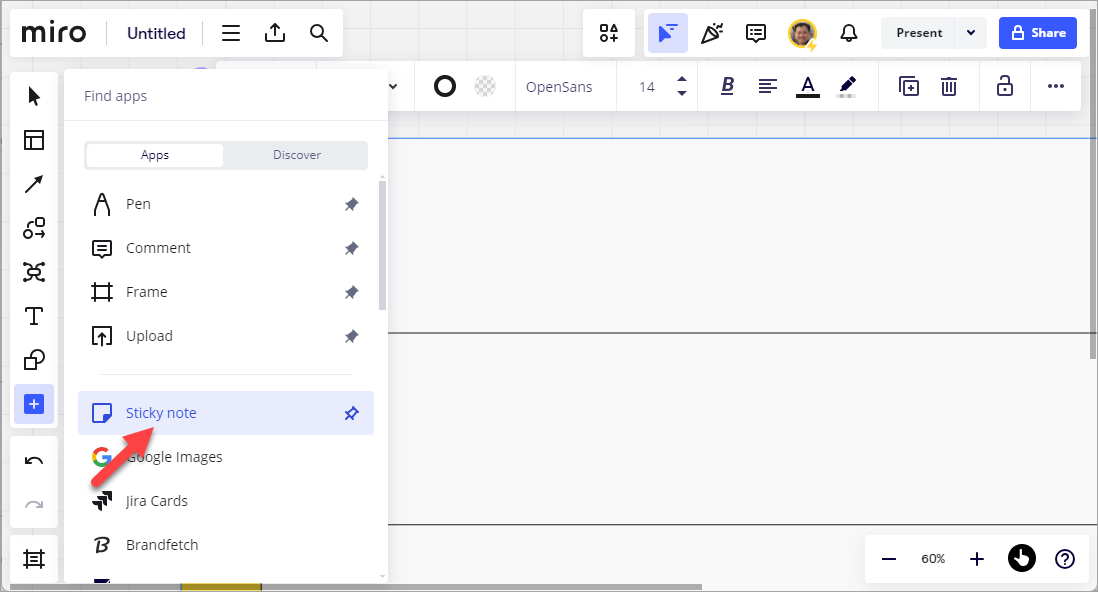
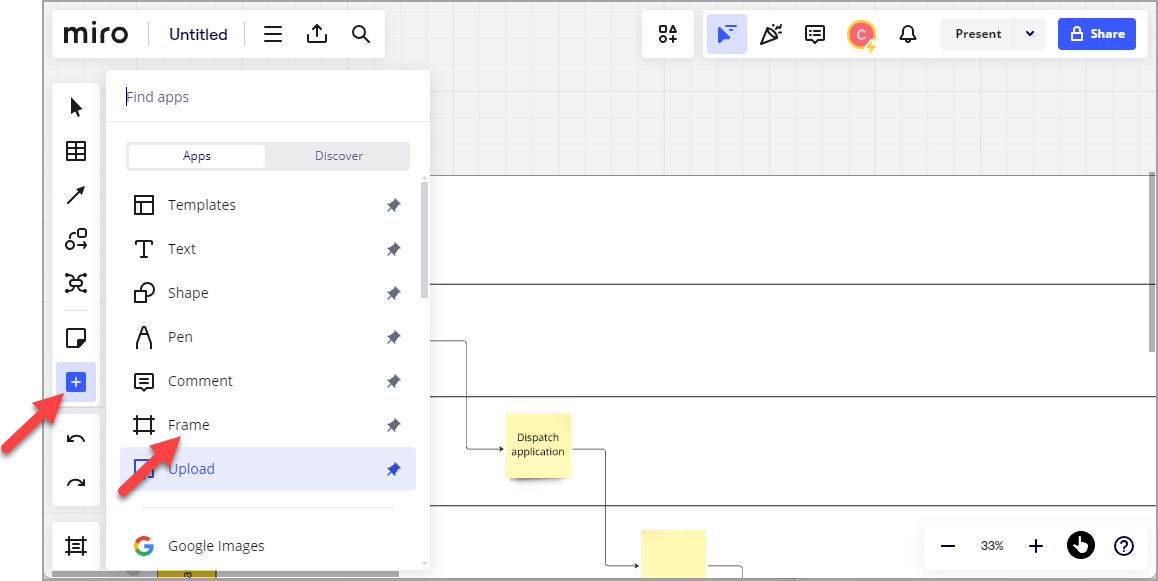
- Click the "Plus" button.
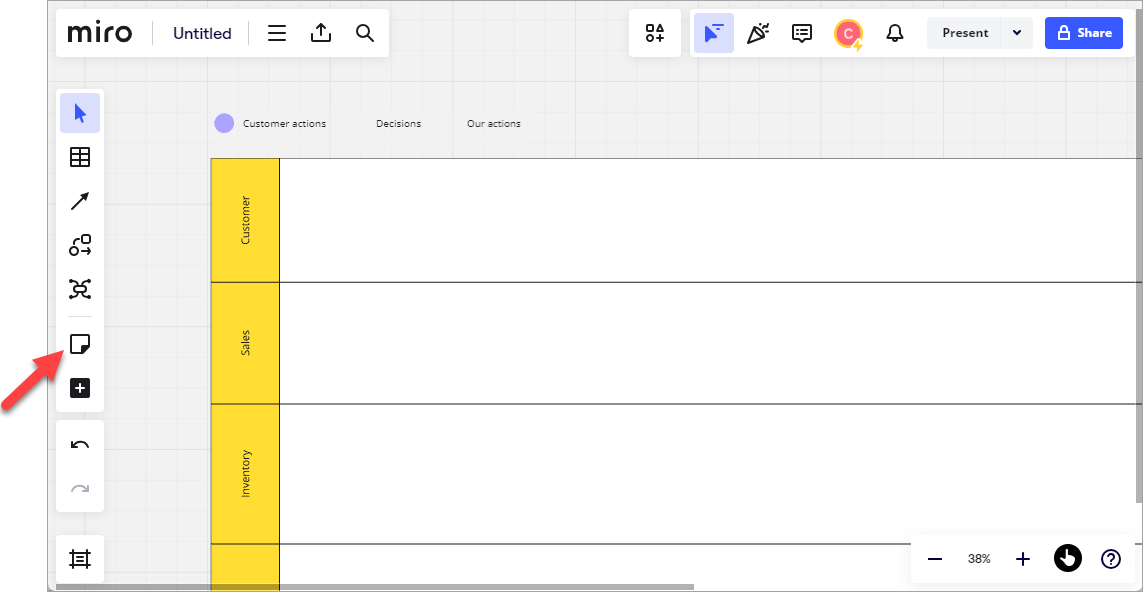
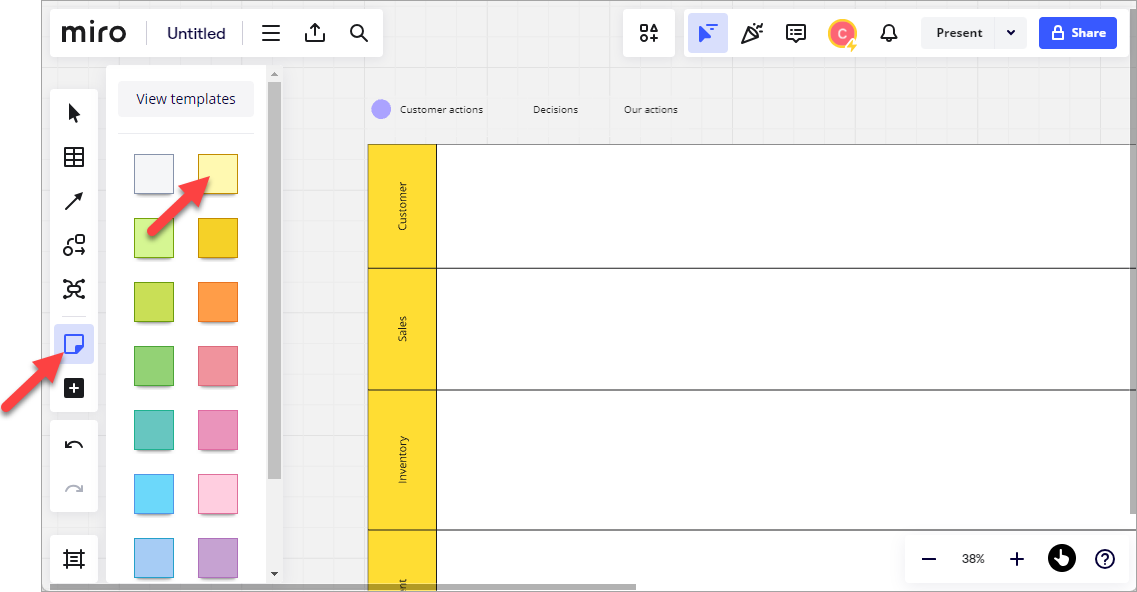
Note: this step is not required if you already have the "Sticky Note" tool in the left menu. - Click the "Sticky Note" tool on the left menu, then select any sticky note color that you like:
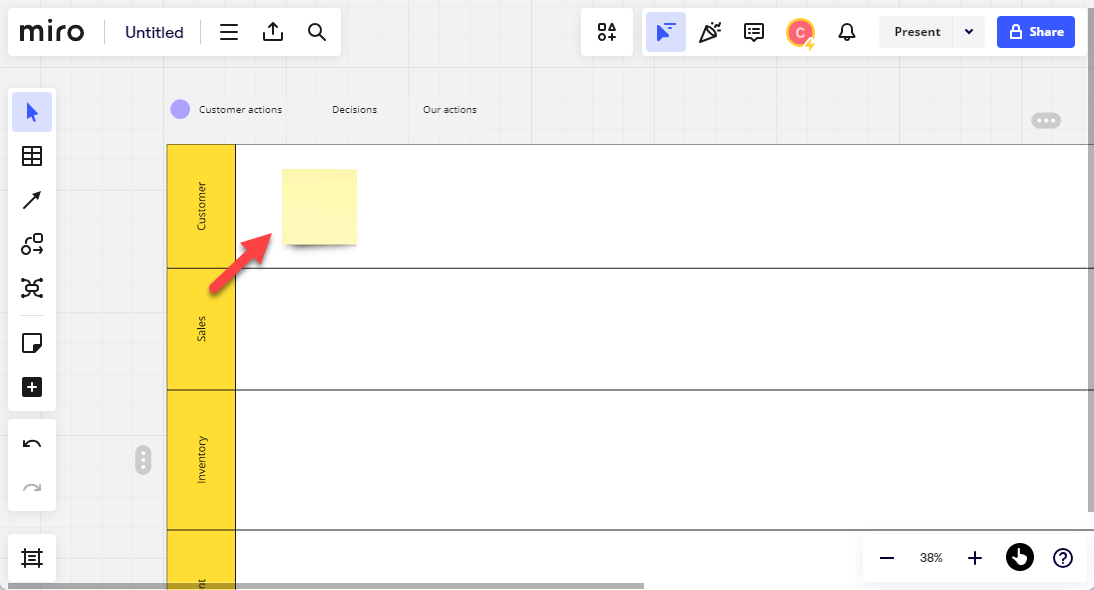
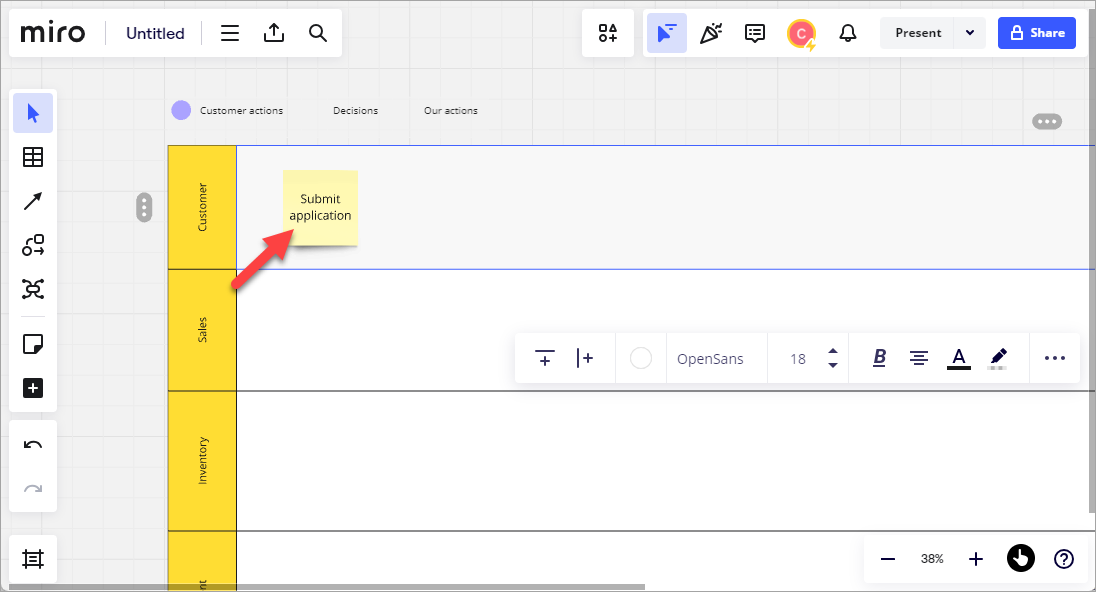
- Click somewhere in the lane and a sticky note will be placed there. Adjust the size of the sticky note if necessary so that the sticky note fit nicely inside the lane with some space on top and below.
- Double click on the sticky note and type in the Verb + Noun.
- In case you're wondering why I don't use the rectangle box in basic shapes. You can give it a try. If you use the rectangle in this basic shapes, the size of the font is fixed. When you enter more text, you may need to adjust the size of the font manually every time so that all the text fits into the rectangle. In contrast, when you use the sticky note, you will find that the font size will auto adjust as you enter more text. This is so much more convenient and will save you a lot of time. The sticky note also mimics closely the actual post-it pad that we use in class.
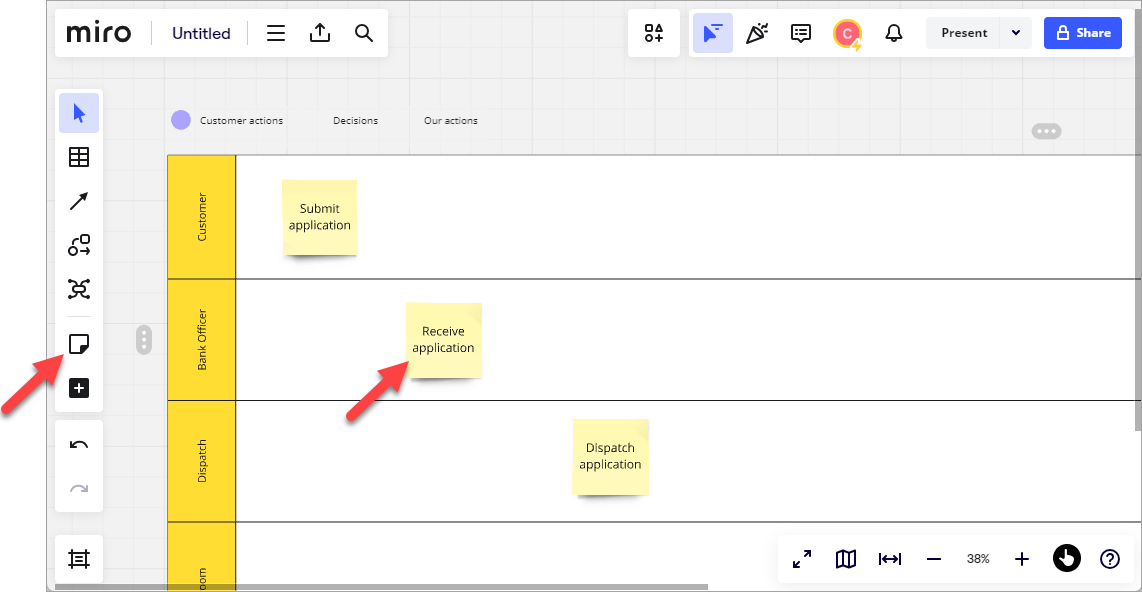
- Click the Sticky Note tool again. Once you set the size of your first sticky note, Miro will assume the same size for the new sticky note. A faster way is to click on the first sticky note, press down Alt-key, then drag it to a new position. The Alt-drag will make a duplicate of the first one.
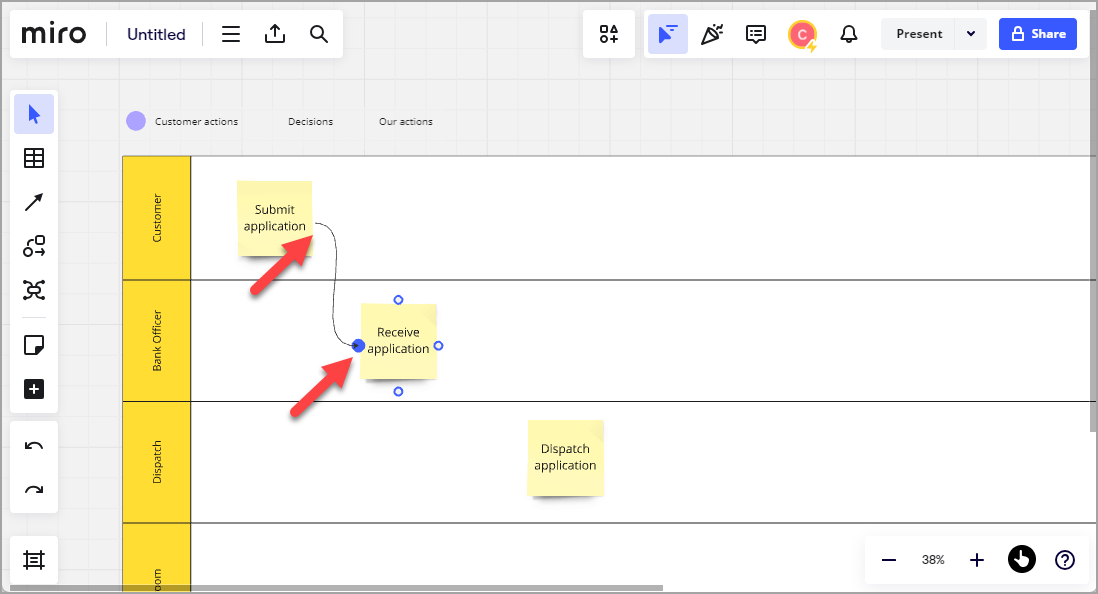
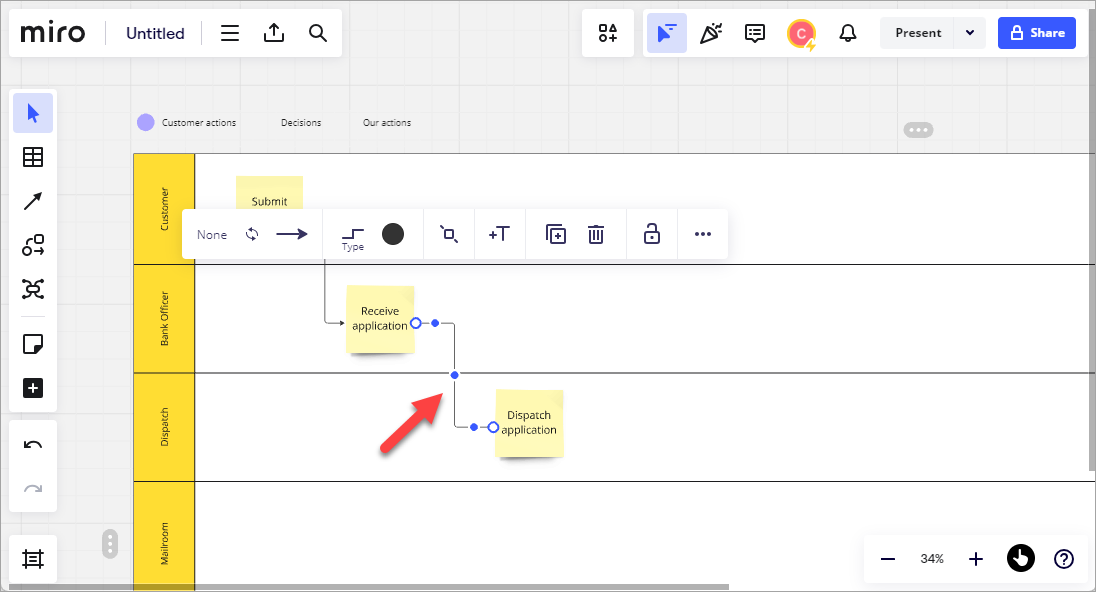
- To add lines, click on the box where the line will start. You will see the 4 blue connectors, one on each side.
- Click and drag from the blue connector on the right-hand side. You will see a line coming out from the blue dot as shown. Connect the line to the blue connector on the left-side of the second box.
- By default, the line is in curve. Let's change this to elbow. With the line selected, click on "type" in the floating context-sensitive menu and click the "Elbow" or right-angled line.
- Your line will now be changed to a right-angled line.
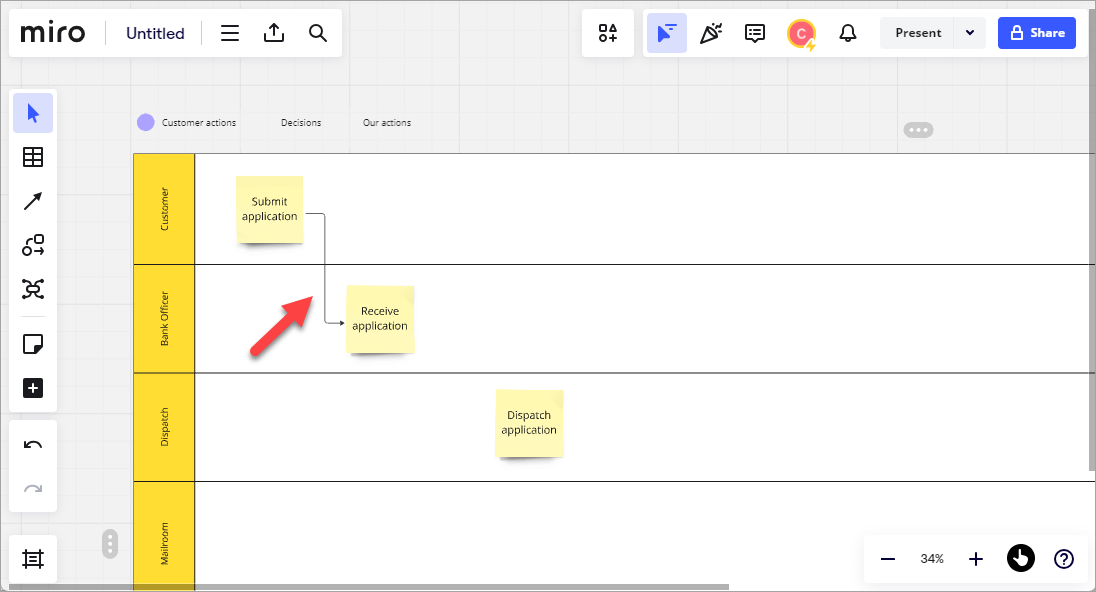
- Do the same for the next one. By default, zoom will always use the previous setting. So the following lines that you draw will now all be right-angled lines.
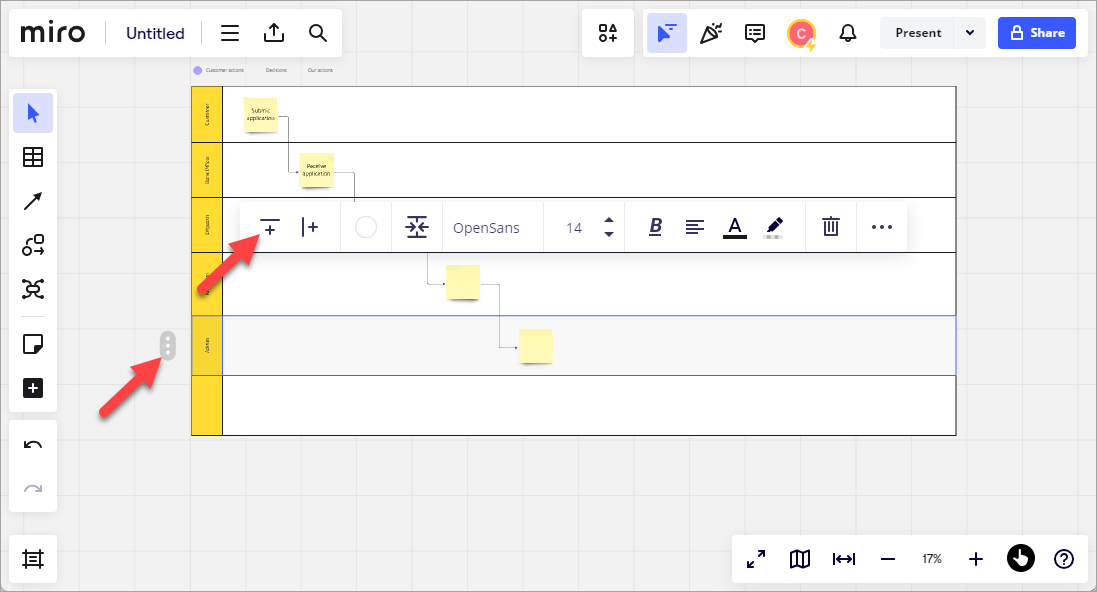
- To add more swimlanes, hover over the actors on the left, you will see a 3 vertical-dot button appear. Click on that button followed by the "Plus" button in the floating menu.
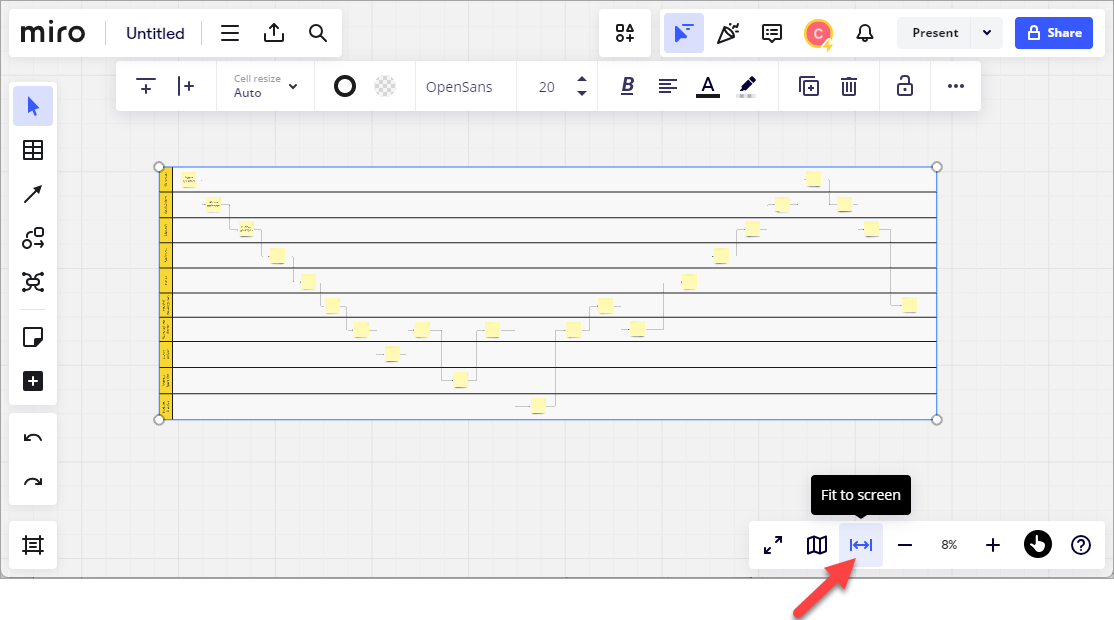
- Once you have mapped out the whole process, you can hover over the bottom right-hand menu and click this "Fit to screen" button to show the entire end-to-end process map. Remember this process - the As-Is process map which you've done in Workshop 3.
- Once you have the complete map, during presentation, you can use the scroll wheel to zoom in to show the details, or zoom out to show the complete map.
- Add Frame. There's one more thing you need to do: add this process map into a frame. Click on the Plus button on the left menu. Then click "Frame".
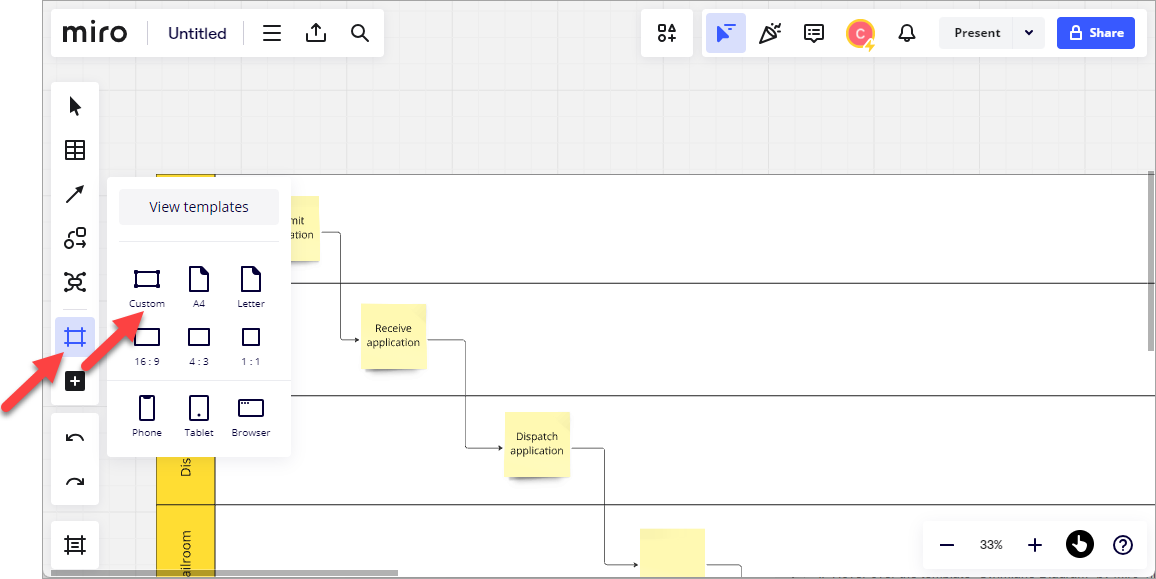
Note: similar to the Sticky Note, this step is only necessary if you do not see the Frame item on the left menu. Once you have added, you do not need to do this again. - Click "Frame" on the left menu and click "Custom"
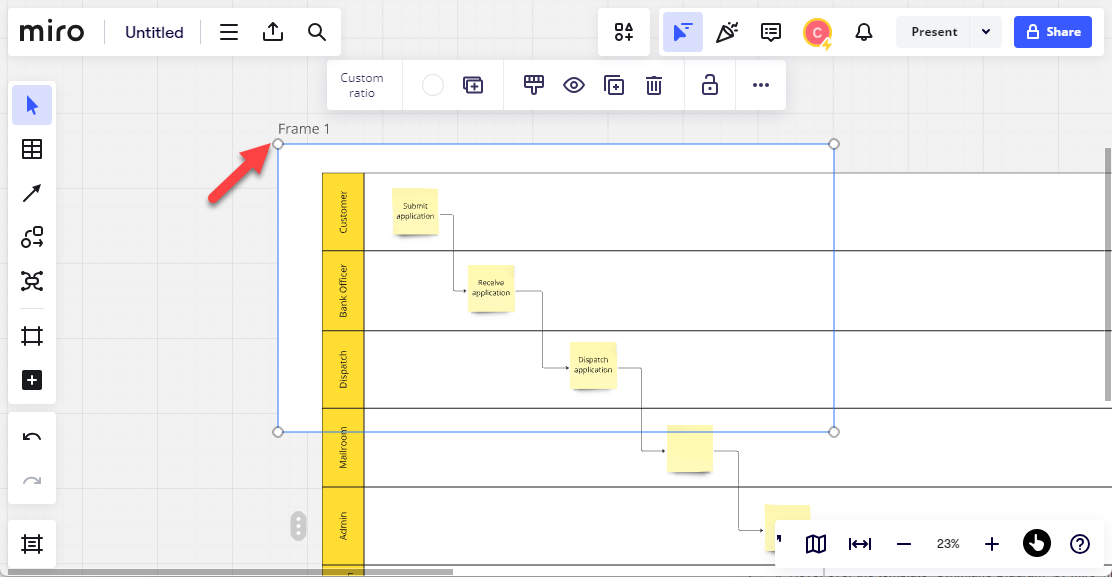
- You will see a Frame 1 added as shown below:
- Drag the handle on the 4 sides of the frame so that the entire process map goes inside the frame. You can also double click on the title of the frame to change the title for the frame.
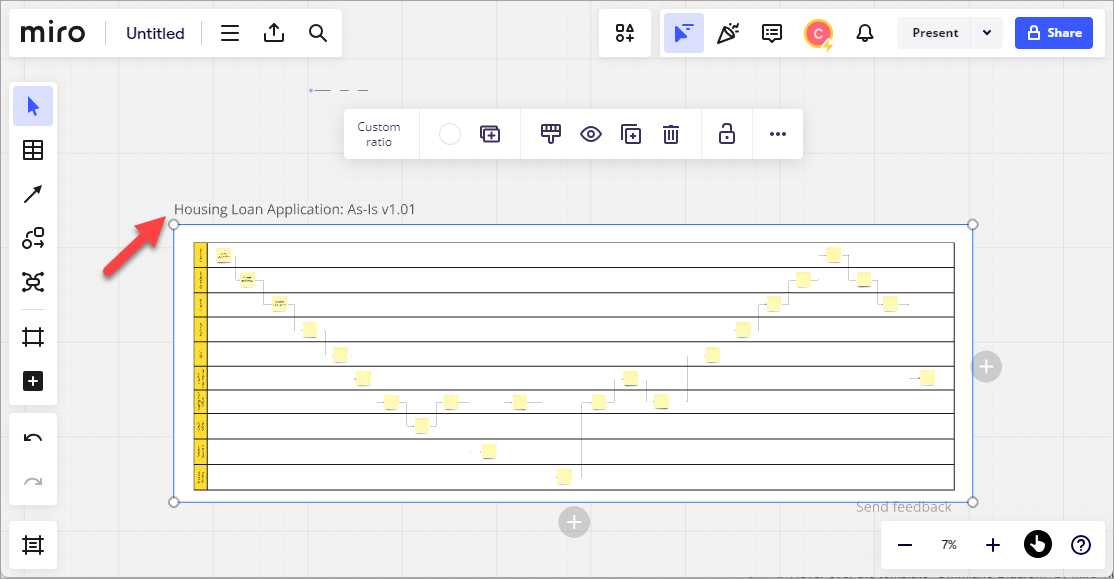
- As mentioned above, each Miro board is huge. You can put in multiple maps within each board. Let's say I also added the To-Be process map Option 1. As in the previous step, make sure you also create one more frame and add the To-Be map inside this Frame #2.
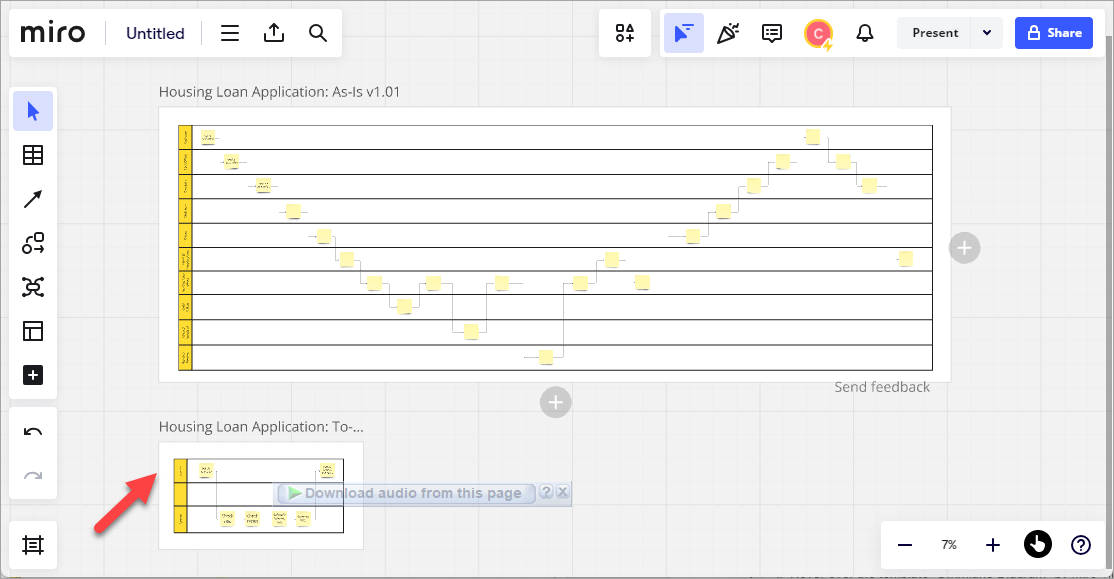
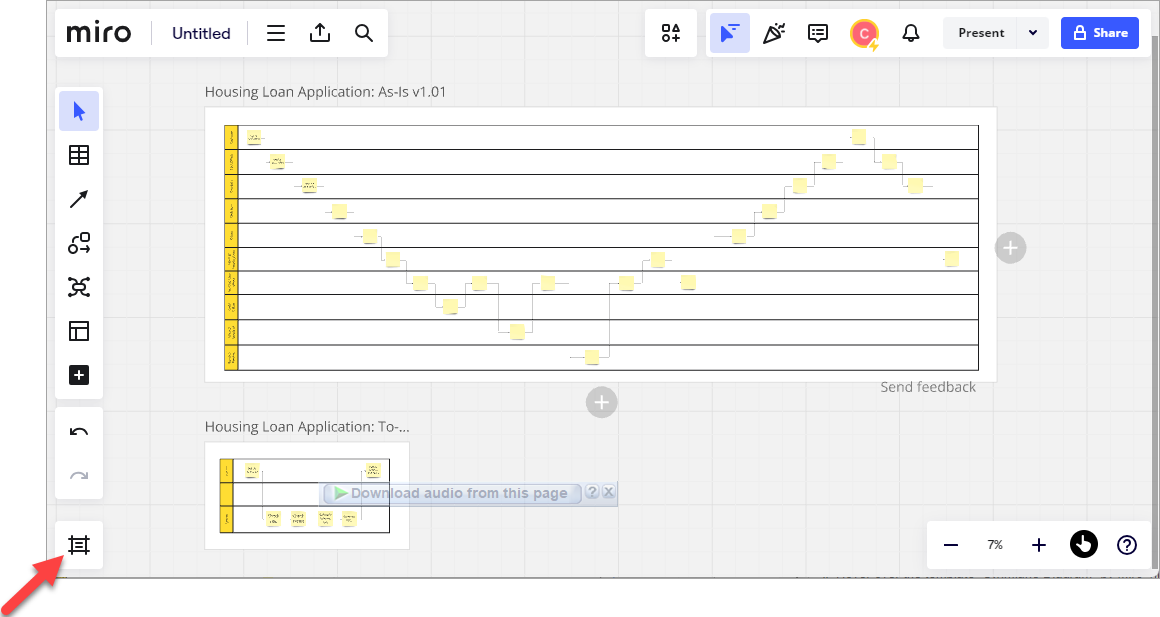
- Now you have all your process maps in each frame, click on this "View Frames" button in the bottom left-hand corner:
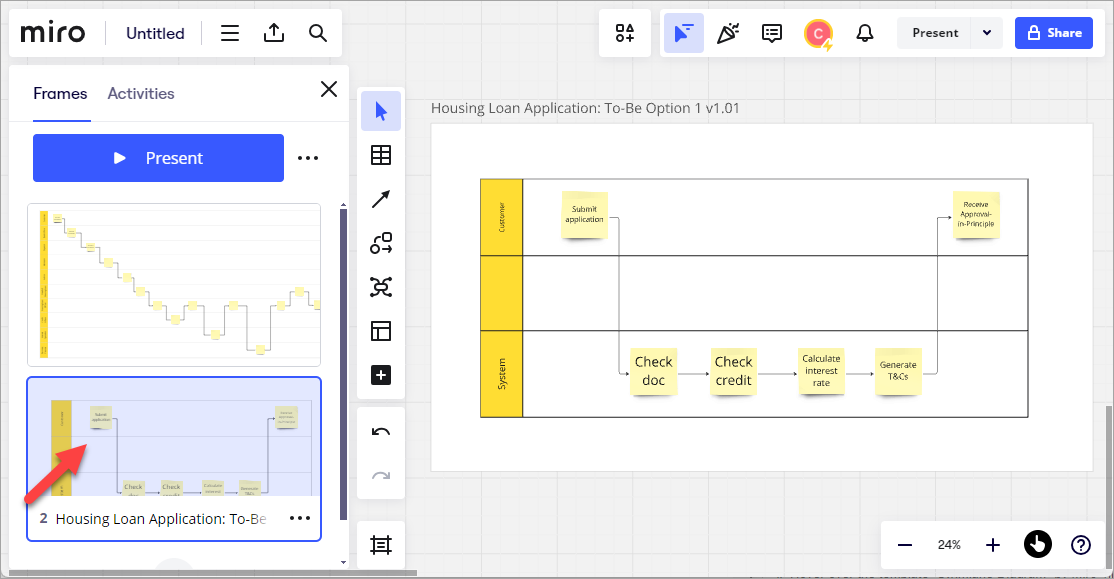
- All the frames you've created will now be displayed on the left-hand side. Click on each frame, Miro will bring you direct to each respective map. Cool, right! This is the reason why we want create a frame to hold each of the process map.
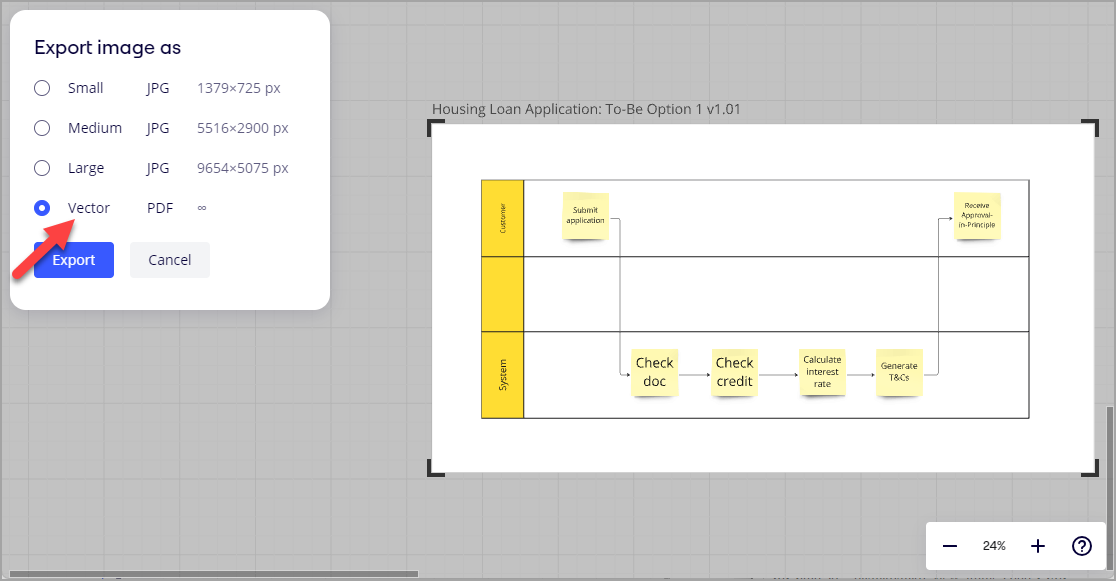
- By the way, Frame is also the place where you can export your maps to PDF. Hover over the 3 dots, select Export, then Export as Image.
- If "Vector" version is available, select this. Otherwise click "Large". In Miro, you have to export each process map one by one. There are no options that allow you to export all the process maps in a board.
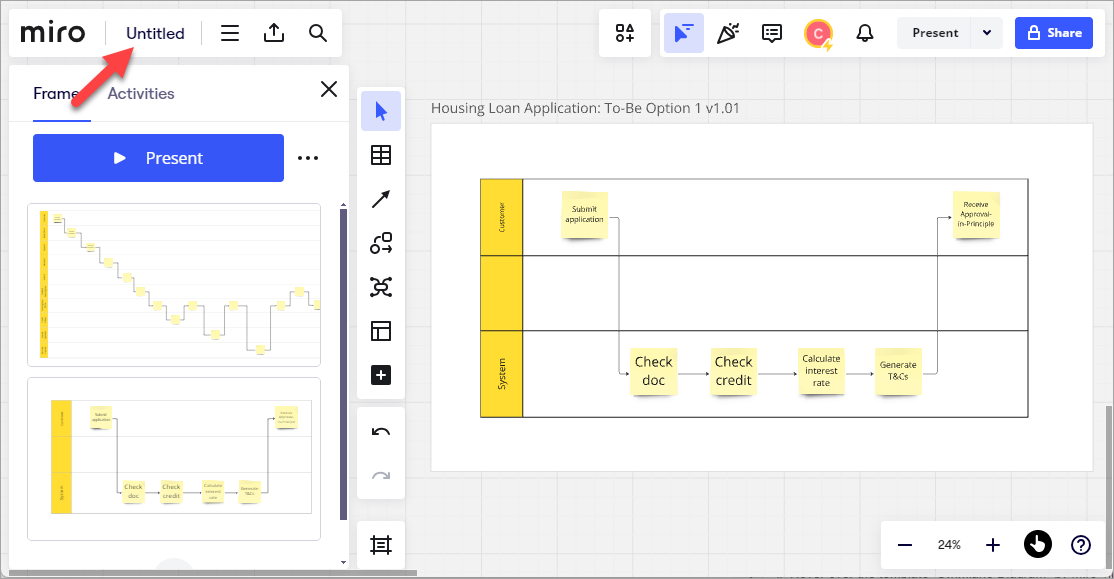
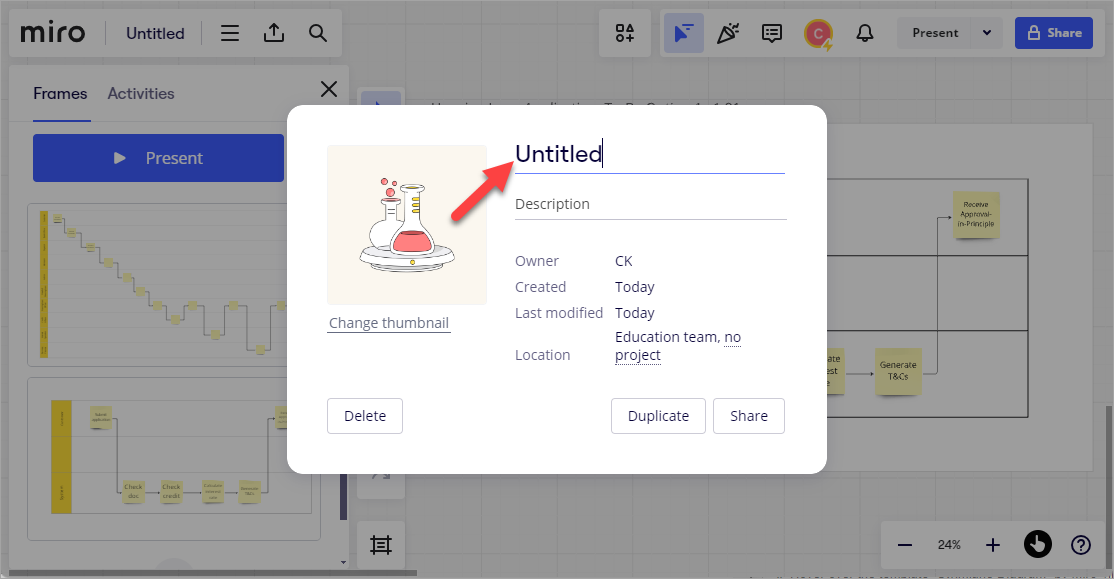
- Lastly, click on this to change the name of the Board.
You can always come back to this template selection menu by clicking this button in the left side menu.


Comments
Thanks for sharing this detailed tutorial. I have been using Miro for a while and love this tool. To help new users, perhaps you can include the link to this miro template you created so that they can come in and see it for themselves. Within the same miroboard, you can also embed a short videoclip on the various steps mentioned above. Some of the more popular ones in the Miroverse use this approach, which I find quite useful. Happy to find out about your website today!