Just like driving, you need not know how to build a car from scratch. All you need to know is how to drive a car.
Same for RPA. You need not know how to build an RPA from scratch. All you need to know is how to run an RPA developed by someone else.
So in this article, let's learn how to run an AutoHotkey scripts.
1. Download and Run the Sample File
- Please make sure that you have installed AutoHotkey. If not, please follow the instructions in this article: Install AutoHotkey on Windows.
- Download the following file: autohotkey sample01.ahk
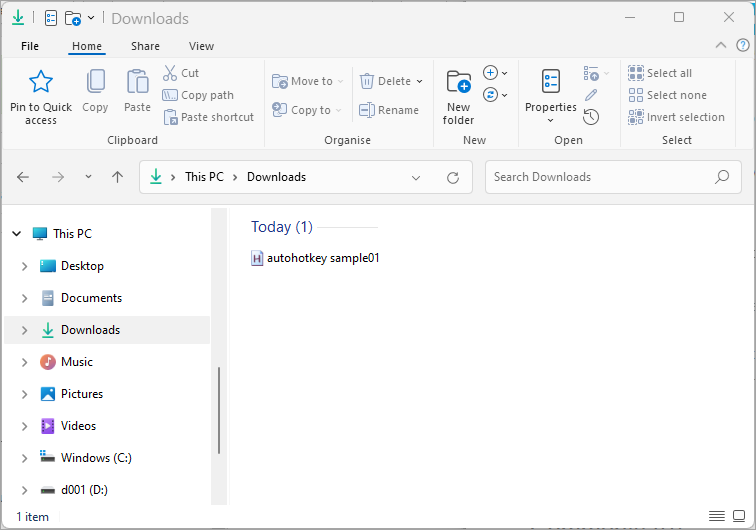
- Open to the folder where you have downloaded the file.
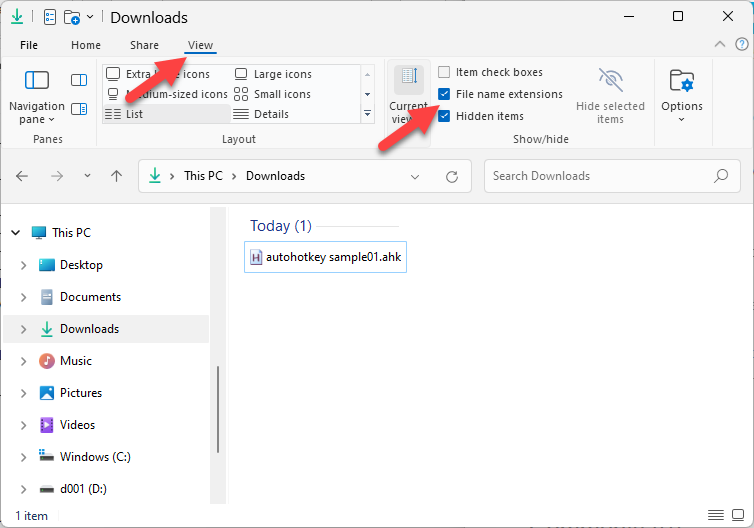
- In File Explorer, click View in the top menu, and make sure File name extensions is checked:
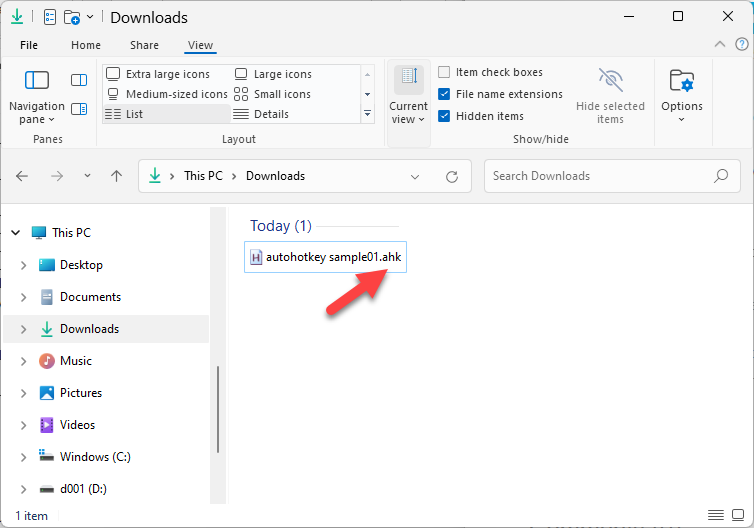
- You should now see the extension .ahk. Note that all AutoHotkey scripts have the extension .ahk. AHK stands for AutoHotKey file.
- To run the sample file, double click on this file: autohotkey sample01.ahk
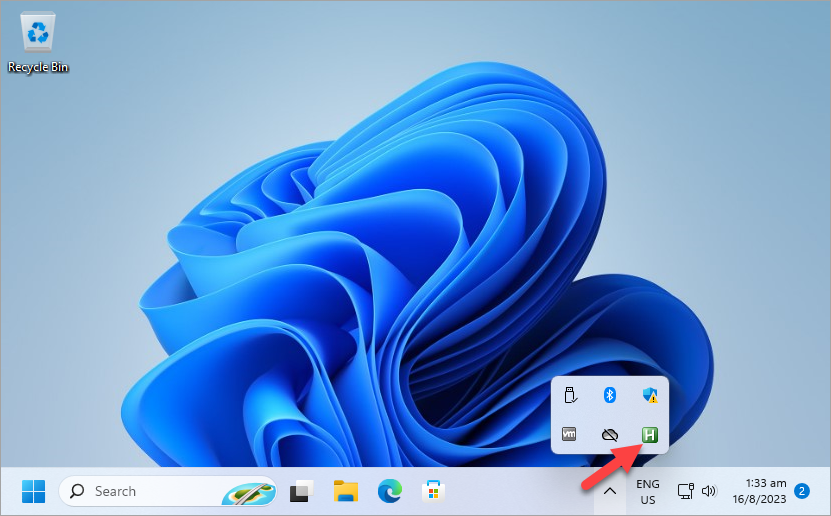
- You won't see anything on the screen. To double check that the script is running, click the up-arrow in the task bar:
- Once you see this, you will know that the autohotkey sample file is running ok. Let's now go for test drive!
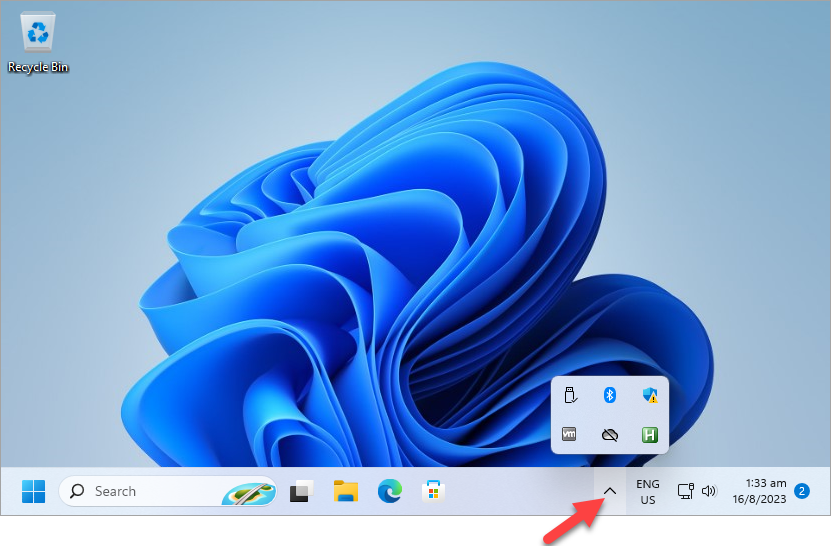
You will a green icon with a "H" on it. This is the AutoHotkey icon:
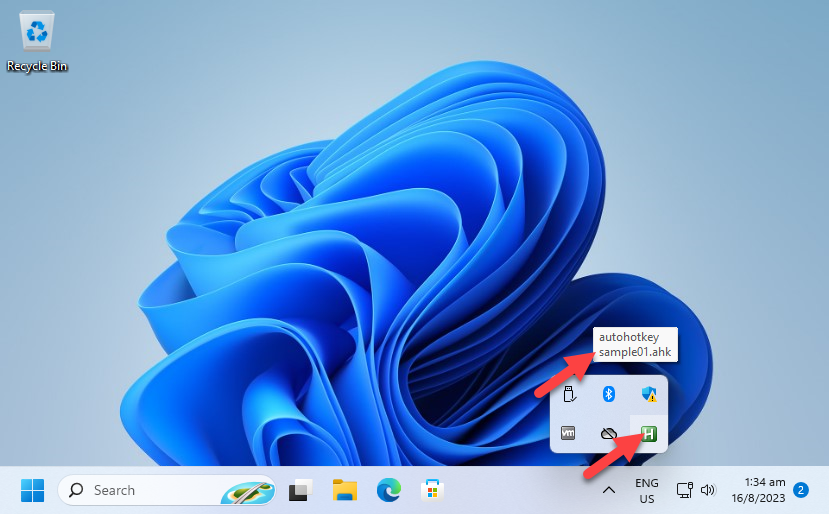
Hover over the green AutoHotkey icon. You will see the name of the autohotkey script that is currently running.
2. Test Drive AutoHotkey - Hot String
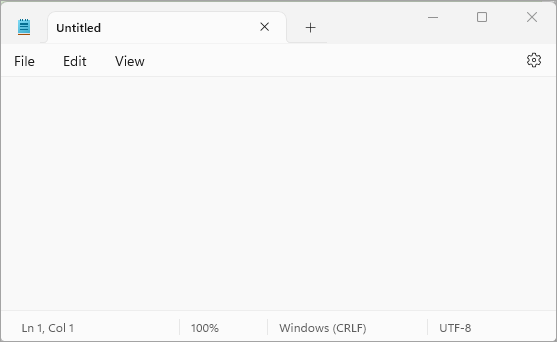
- Open the Windows Notepad
- type
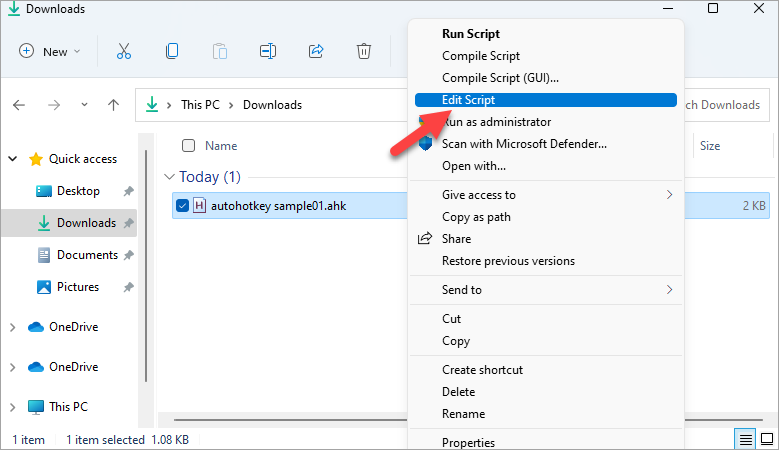
nus1 - Go back to your File Explorer, right click on the file "autohotkey sample01.ahk", and elect "Edit Script".
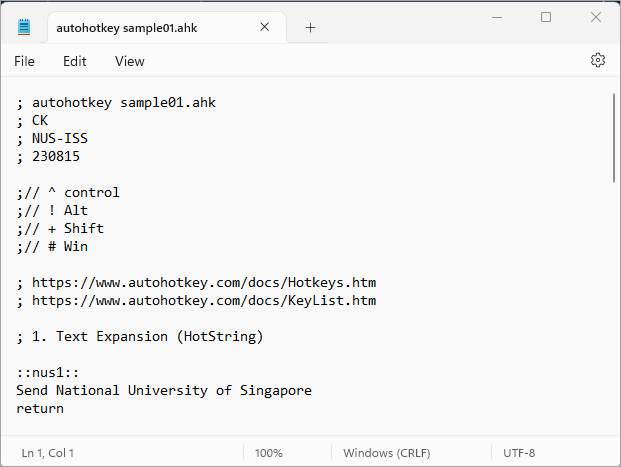
- The file "autohotkey sample01.ahk" will be loaded into Notepad:
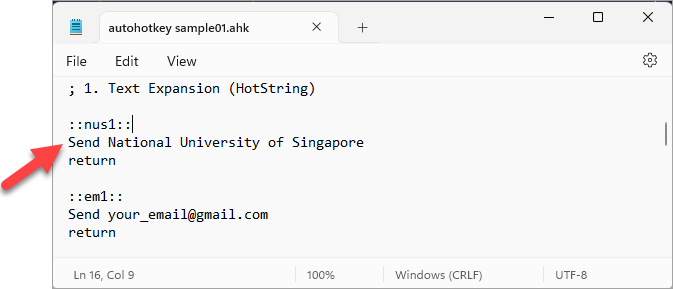
- The codes that perform this Text Expansion are the 3 lines below starting in Line 16:
- Line 16: The hotstring "nus1" is preceded by 2 colons in front, and another 2 colons at the back
- Line 17: The keyword
Sendwill type out the text that follows, in this case: National University of Singapore - Line 18: The keyword
returndenotes the end of the macro. - Now let's try another macro. Go back to your first notepad. This time type
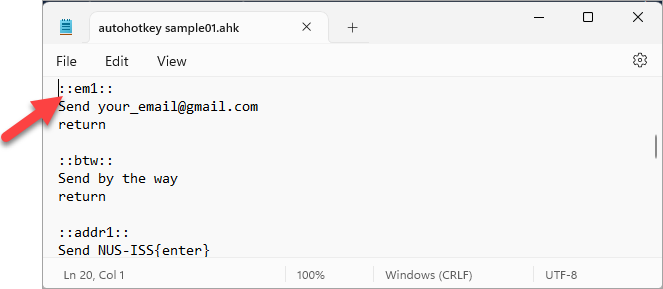
em1 - The corresponding codes that perform this Text Expansion are the 3 lines below starting in Line 20:
- Line 20: The hotstring "em1" is enclosed by 2 colons in front and at the back
- Line 21: The keyword
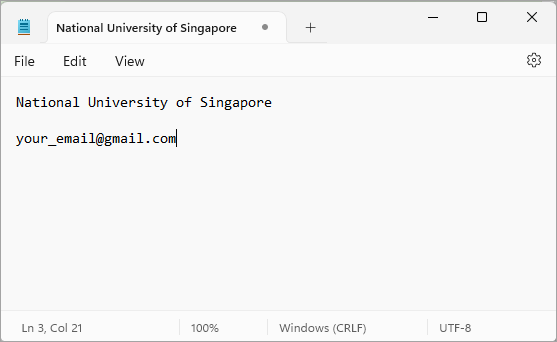
Sendwill type out the text that follows, in this case:This email address is being protected from spambots. You need JavaScript enabled to view it. - Line 22: The keyword
returndenotes the end of the macro. - Similarly, try
btwfollowed by a <Space>. It will expanded to "by the way". - The Text Expansion can be mult-lines too. Try type in
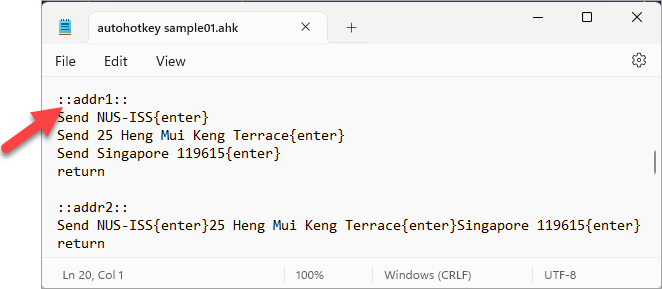
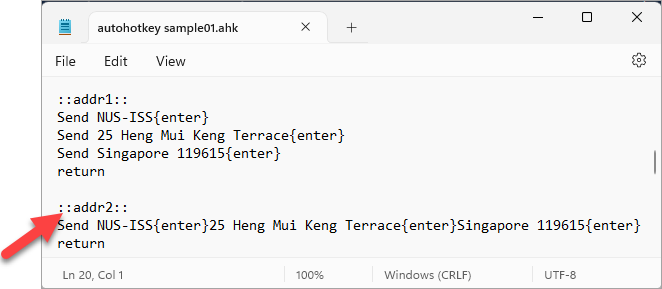
addr1, followed by <Space>, <Tab> or <Enter>. It will be expanded to: - The code for this is as shown below. You simply output the 3 lines using 3
Sendcommand. - Of course, it is also possible to use only one
Sendcommand, using the syntax{enter}to separate the lines. The curly bracket denotes the function keys on the keyboard, in this case the <Enter> key. You can try out this macro by typingaddr2
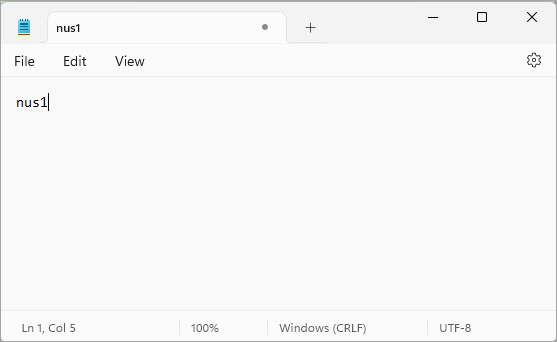
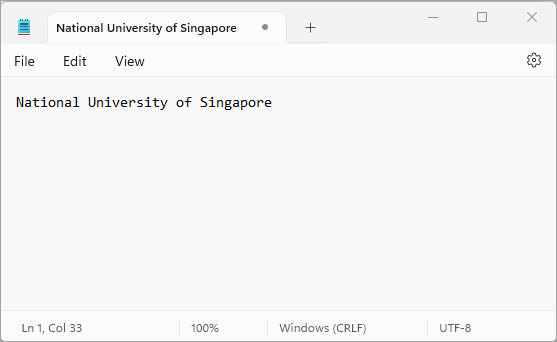
Now type a <Space>, <Tab> or <Enter>. You will see "nus1" being expanded to "National University of Singapore".
This is what we called Text Expansion, or Hot String.
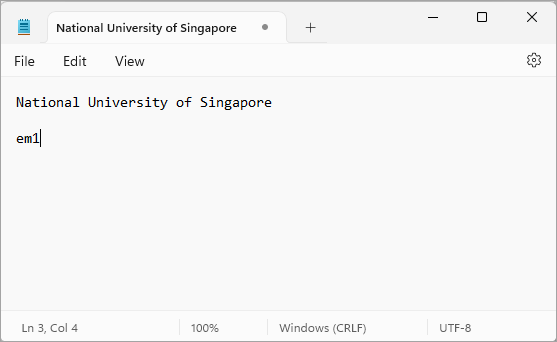
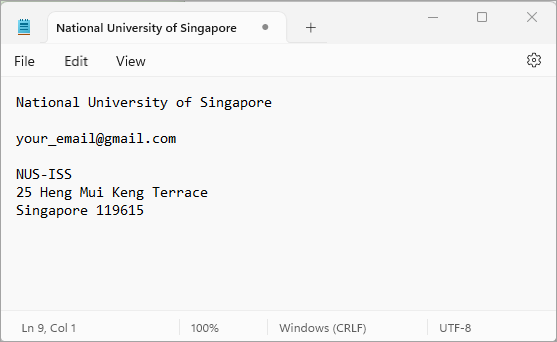
Now type a <Space>, <Tab> or <Enter>. You will see "em1" being expanded to "
NUS-ISS
25 Heng Mui Keng Terrace
Singapore 119615
3. Test Drive AutoHotkey - Hotkey to Launch Favourite Apps
Let's now use Hotkeys to launch favourite apps.
- Press the keys
Ctrl+Alt+N- 3 keys together - anywhere in Windows. You should see a new Notepad being launched. - This is what we called a hotkey. This is similar to Window's keyboard shortcut. Instead of manually clicking the Windows start menu to launch Notepad, we can now achieve the same thing using a hotkey, in this case Ctrl + Alt+ N.
- The codes for this hotkey can be found in Line 40:
- Line 40: This defines the hotkey.
^denotes the control key.!denotes the Alt key.+denotes the shift key.#denotes the Windows key. So in this case,^!nmeans Ctrl + Alt + n - Line 41: The keyword
Runwill launch the app specified as full path. In this case, the full path to notepad is: "C:\Windows\System32\notepad.exe" - Line 42: The keyword
returndenotes the end of the macro.

If it didn't work, make sure that you have all the 3 keys pressed together. Usually what we do is press down the Ctrl key first, don't release, then add on Alt key, don't release the 2 keys, then finally press the N key.
^!n::
Run "C:\Windows\System32\notepad.exe"
return
4. Test Drive AutoHotkey - Hotkey to Launch Favourite Folders
You can use Hotkeys to launch favourite folders in in Windows Explorer.
- Press the keys
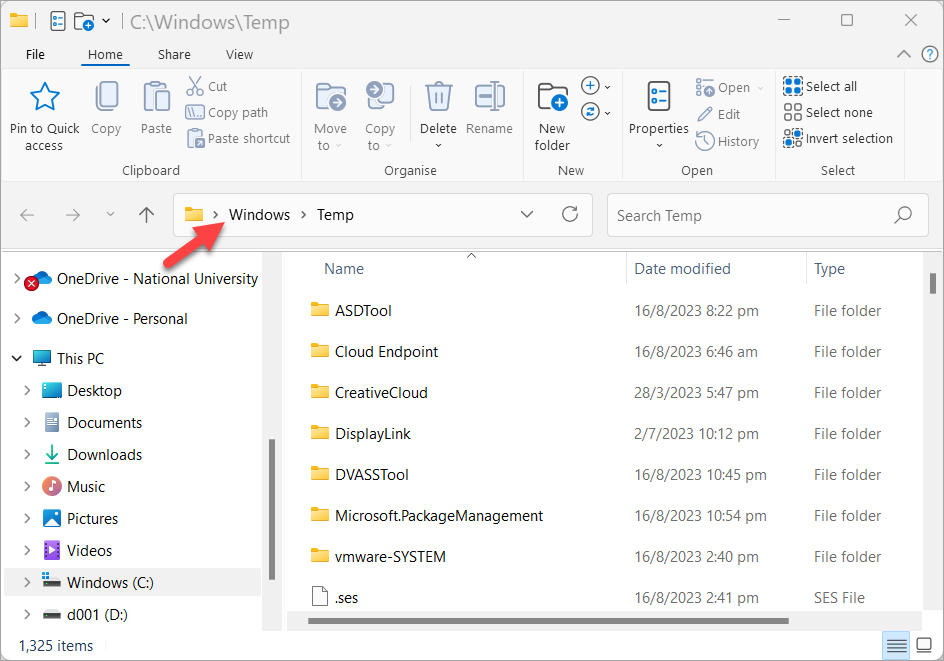
Ctrl+Alt+5anywhere in Windows. You should see the folder "C:\Windows\Temp" displayed in Windows Explorer - The codes for this hotkey can be found in Line 45:
- Line 45: This defines the hotkey:
Ctrl+Alt+5 - Line 46: The keyword
Runwill launch the specified folder (in full path) in your Windows Explorer. - Line 47: The keyword
returndenotes the end of the macro.
^!5::
Run "C:\Windows\Temp"
return
5. Test Drive AutoHotkey - Hotkey to Launch Favourite Websites
You can use Hotkeys to launch commonly used websites in your default browser.
- Press the keys
Ctrl+Alt+6anywhere in Windows. You should see the website https://www.vocabulary.com/dictionary/ opened in your default browser. - The codes for this hotkey can be found in Line 50:
- Line 50: This defines the hotkey:
Ctrl+Alt+6 - Line 51: The keyword
Runwill launch the specified URL in your default browser - Line 52: The keyword
returndenotes the end of the macro.
^!6::
Run https://www.vocabulary.com/dictionary/
return
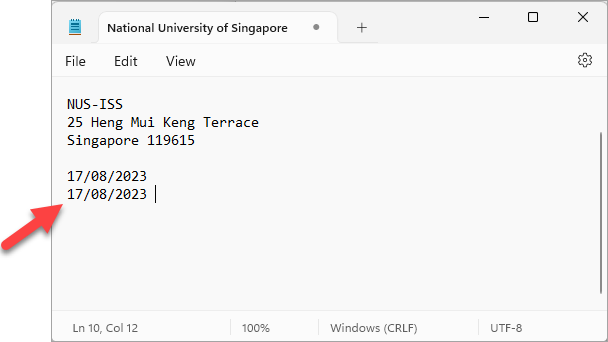
6. Test Drive AutoHotkey - Hotkey to add today's date
- Go back to your first notepad.
- Type
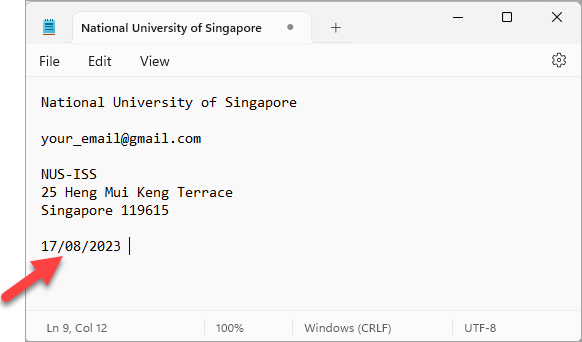
Ctrl+Alt+d. You should see AutoHotkey type out today's date in Notepad. - You can also use the Hot String
td1to type out today's date: - The codes for the above can be found in Line 54:
- Line 54: This defines the hotkey:
Ctrl+Alt+d - Line 55: This defines the hot string:
td1. With these 2 lines, you can active the same macro using hotkey or hot string. - Line 56: The keyword
EnvAddsets the variable TodayDateTime to the current timestamp. - Line 57: The keyword
FormatTimeformats the time to dd/MM/yyyy. - Line 58: The keyword
Sendoutputs the current date. - Line 59: The keyword
returndenotes the end of the macro. - You can also try the Hot String
td2that outputs today's date in the format: yyyy-MM-dd - The codes for the above can be found in Line 61. This is entirely similar to the Hot String td1. The only difference is that the time formatting string now becomes: yyyy-MM-dd.
^!d::
::td1::
EnvAdd, TodayDateTime, +0, days
FormatTime, TodayDateTime,%TodayDateTime%, dd/MM/yyyy
Send %TodayDateTime%{Space}
return

^!d::
::td2::
EnvAdd, TodayDateTime, +0, days
FormatTime, TodayDateTime,%TodayDateTime%, yyyy-MM-dd
Send %TodayDateTime%{Space}
return