This article shows you step-by-step how to install AutoHotkey v1.1 on Windows.
Note that AutoHotkeys runs only on Windows. It does not run on MacOS or Linux.
Install AutoHotkey
- Go to AutoHotkey home page: https://www.autohotkey.com/, and click the Download button:
- There are currently 2 versions of AutoHotkey - version 1 and version 2. This article is for installing AutoHokey v1.1. So please download Version 1.1.
- Open and run the installer file that you have downloaded. Make sure that the front portion of the installer says "AutoHotkey_1.1" e.g.:
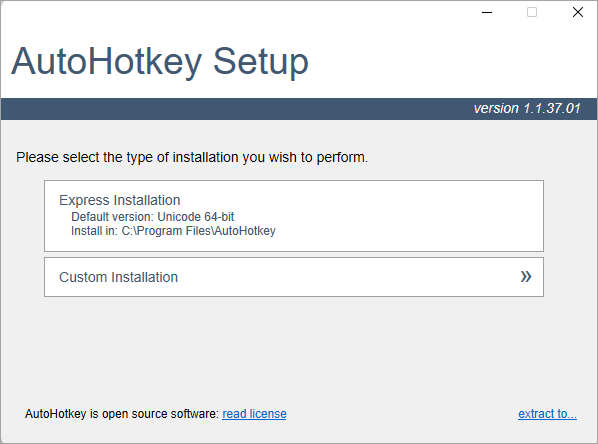
AutoHotkey_1.1.37.01_setup.exe - You will see the following screen:
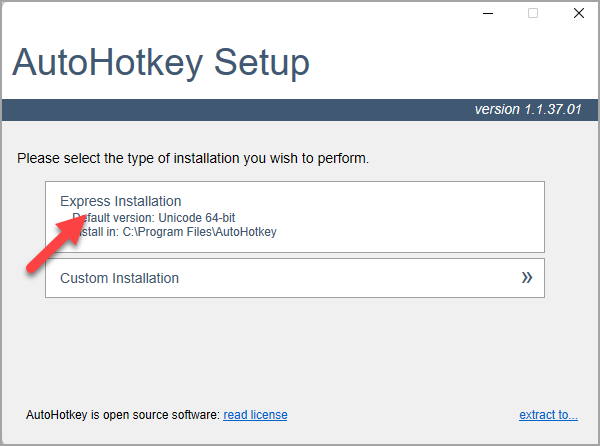
- Click "Express Installation"
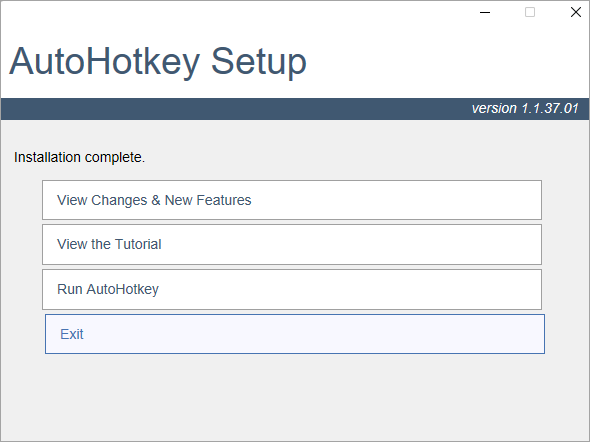
- Congratulations! You have successfully installed AutoHotkey!
- Click Exit and you are now ready to run AutoHotkey.